Setting up a Printer in Tails
Because Tails is supposed to be as “amnesiac” as possible, you want to shield your Tails stick from any extra inputs from, and outputs to, a potentially untrusted network. This is why we strongly recommend using a printer that does not have WiFi or Bluetooth, and hooking up to it using a regular USB cable to print.
Finding a printer that works with Tails can be challenging because Tails is based on the Linux operating system, which often has second-class hardware support in comparison to operating systems such as Windows or macOS.
We maintain a list of printers that we have personally tested and gotten to work with Tails, in the Hardware guide; if possible, we recommend using one of those printers. The Linux Foundation also maintains the OpenPrinting database, which documents the compatibility, or lack thereof, of numerous printers from most every manufacturer.
Note
The latest generations of printers might or might not be represented by the OpenPrinting database; also, the database does not document whether or not a printer is wireless, so this will involve manually checking models of interest, if you wish to use this resource as a guide for purchasing a non-wireless printer suitable for use with SecureDrop.
With that in mind, this database is arguably the best resource for researching the compatibility of printers with Linux. As a tip for narrowing down your search, look for printers that are compatible with Debian, or Debian-based distributions like Ubuntu, since Tails itself is also Debian-based. This might increase the chances for a seamless installation experience in Tails.
In any case, this document outlines the usual set of steps that we follow when attempting to use a new printer with Tails, and provides some troubleshooting tips that you may find useful if you are trying to use a different printer.
Note
While, as of Tails 3, it’s no longer necessary to have admin privileges in order to install or configure printers, we recommend that you set an admin passphrase along with enabling persistence; this ensures that the printer’s installation and configuration settings persist after every reboot, so you don’t have to reinstall it each time you start Tails.
Installing and Printing via the Tails GUI
Let’s look at Tails 3.0’s typical flow for installing a USB-connected printer. If you’ve enabled persistence, boot with your persistent volume, and set an admin passphrase. Connect the printer to your Tails-booted computer via USB, then turn the printer on.
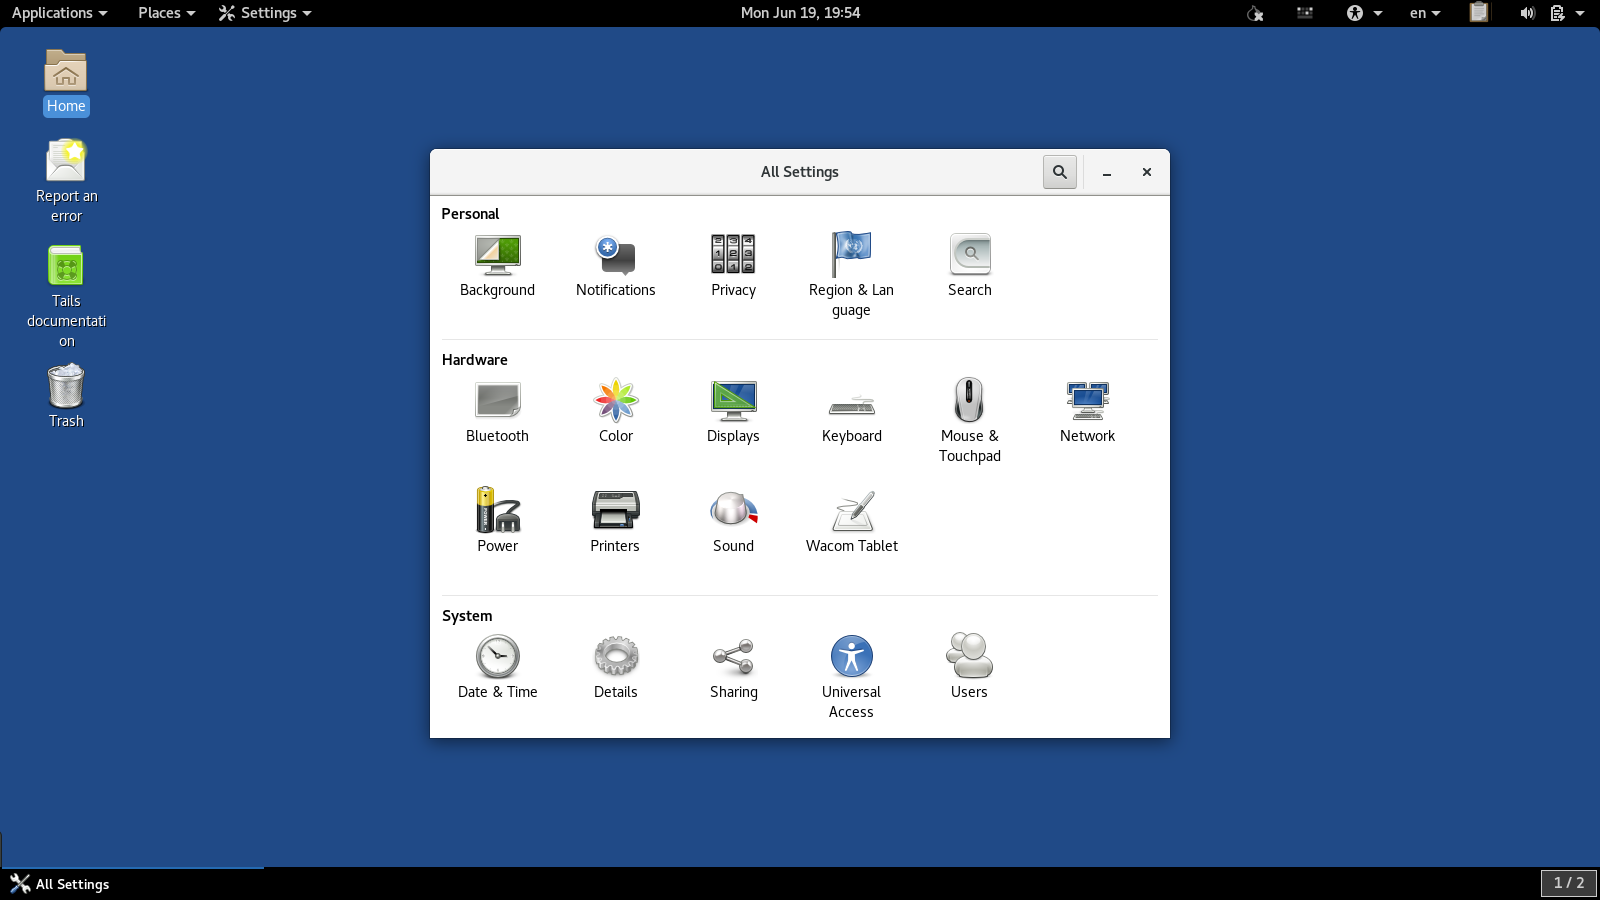
Now, you’ll want to single-click your way through Applications ▸ System Tools ▸ Settings ▸ Printers.
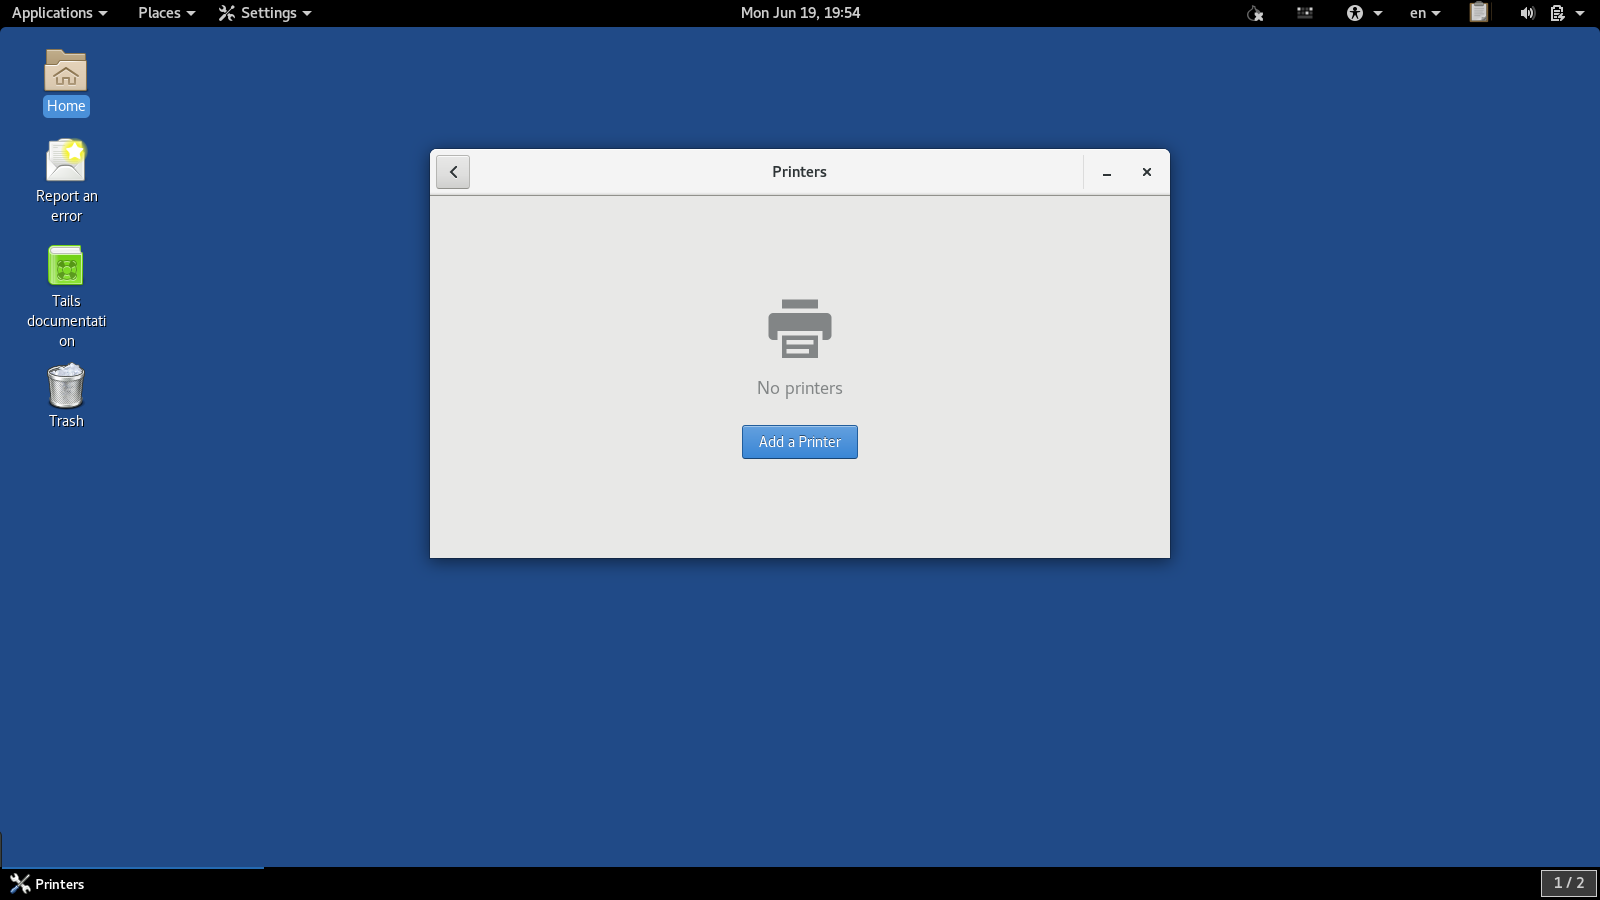
In this example, we’ll assume that this is the first time we’ve tried to install a printer, which will show the following:
Click “Add a Printer”. By doing so, you’ll now get a list of printers that Tails has auto-detected. You should now see this:
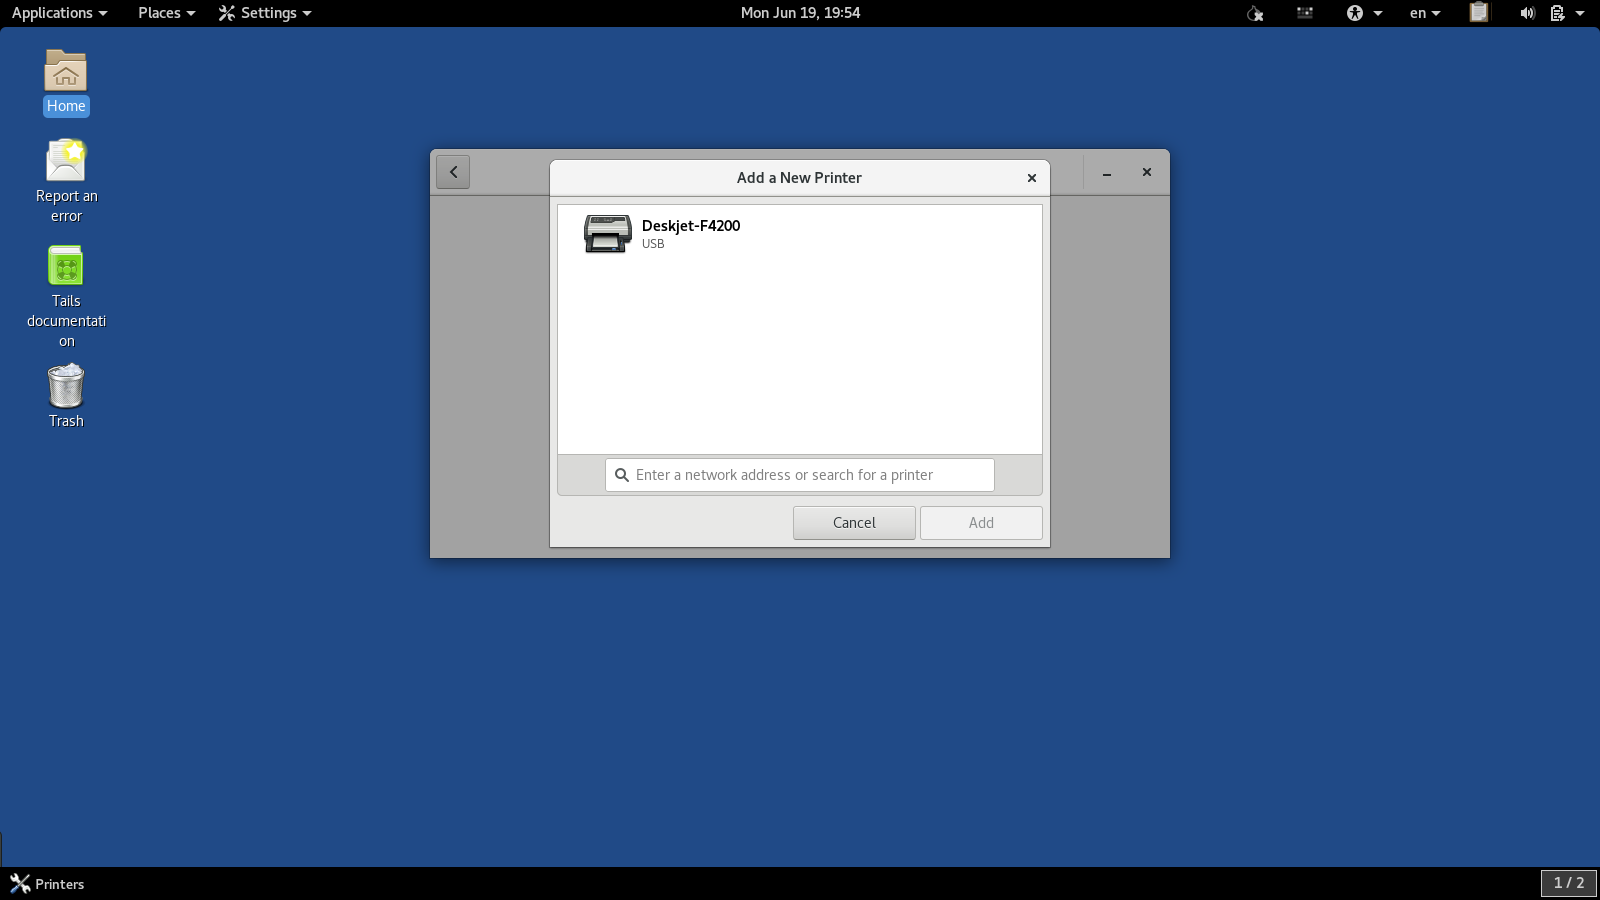
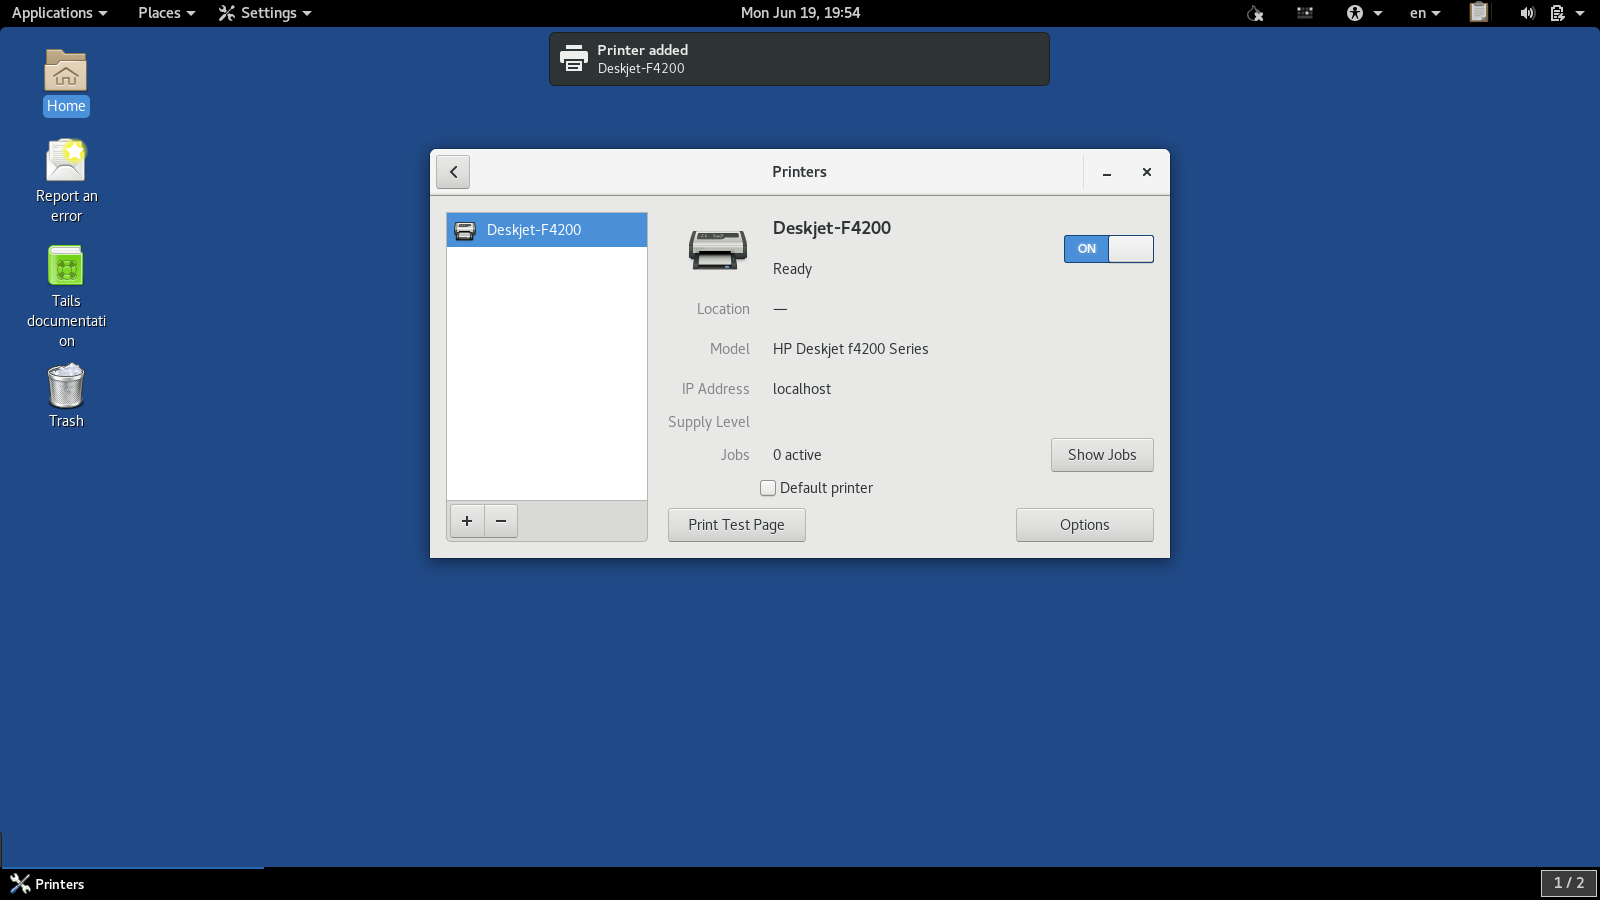
In this example, we’ve connected an HP DeskJet F4200. Clicking on this printer will select it for installation, which, if successful, will display the following:
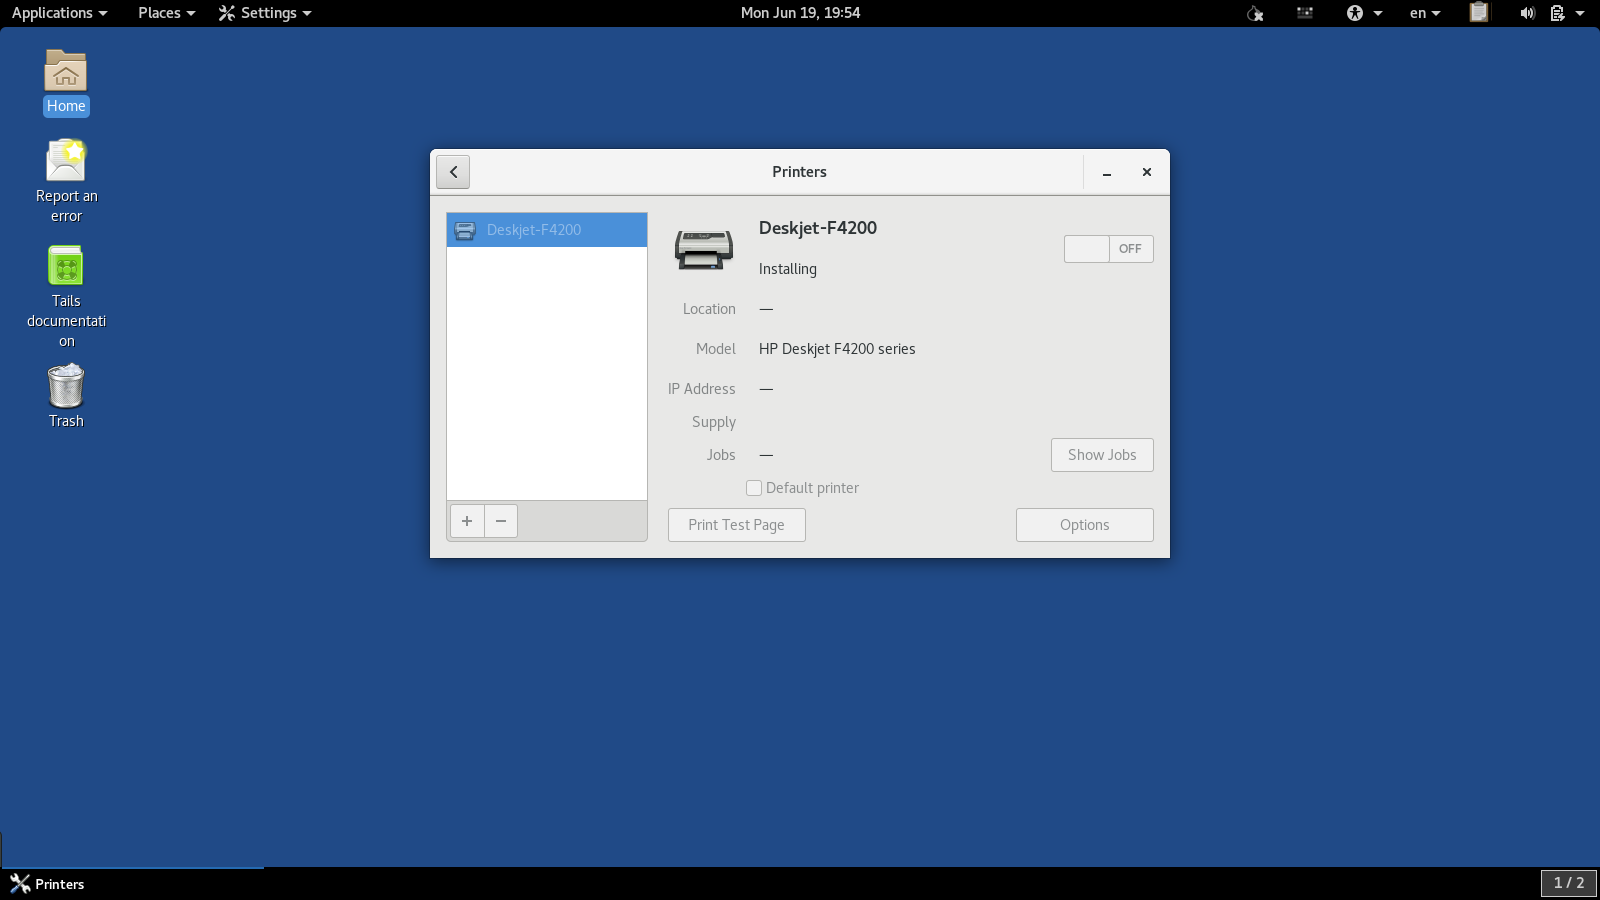
This indicates the Tails is attempting to install the USB printer; assuming you receive no errors in this process, you will then see the following screen, which indicates that the printer is “ready” for printing.
Troubleshooting
For instances where your printer does not work out of the box, most difficulties stem from not selecting the right driver (extra software needed for the printer and computer to communicate). Luckily, Tails has a large number of drivers for just about any popularly manufactured printer on hand, without even having to download new drivers from the web.
Just as before, if you’ve enabled persistence, boot with your persistent volume, and set an admin passphrase.
Make sure your computer is NOT connected to the Internet. This will make sure that your printer set-up is never influenced by a network connection.
Plug in your printer and navigate to Printing. Applications ▸ System Tools ▸ Settings ▸ Printing.
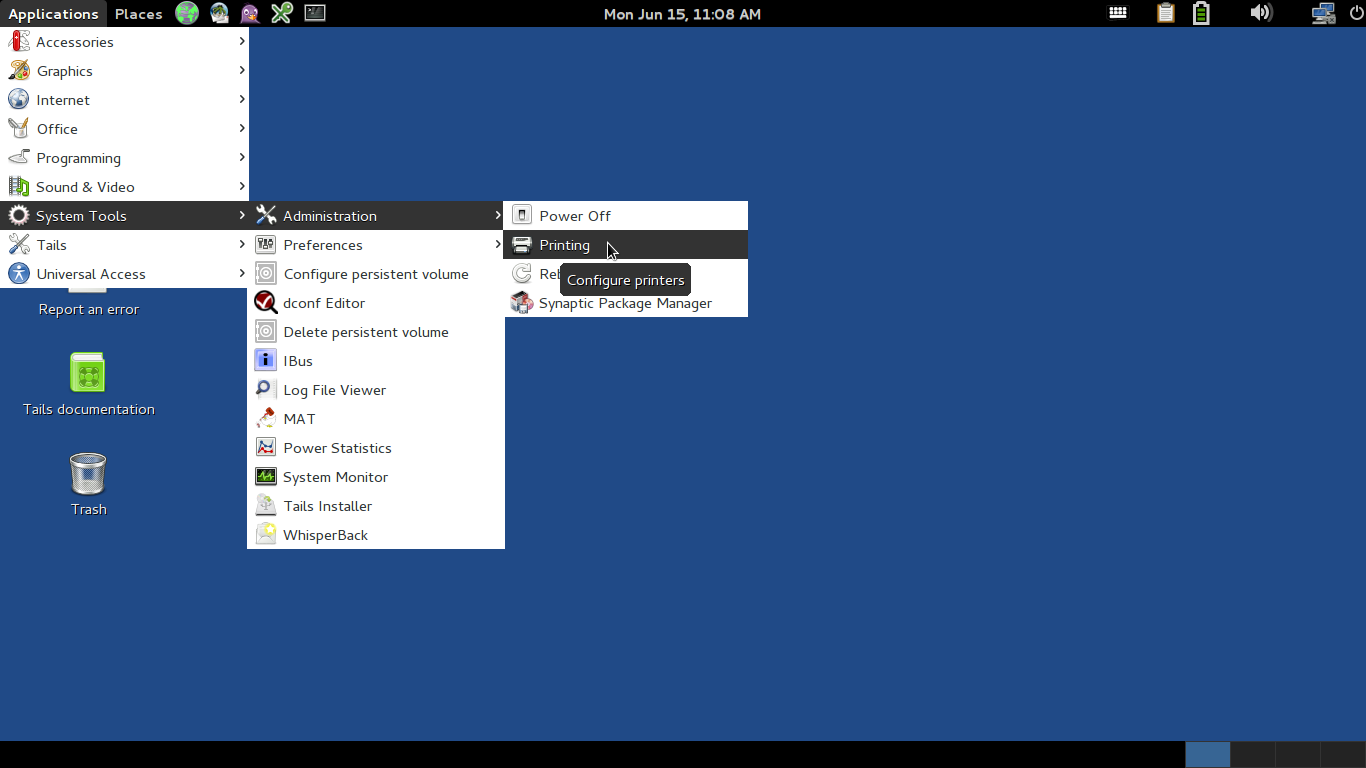
Click Add.
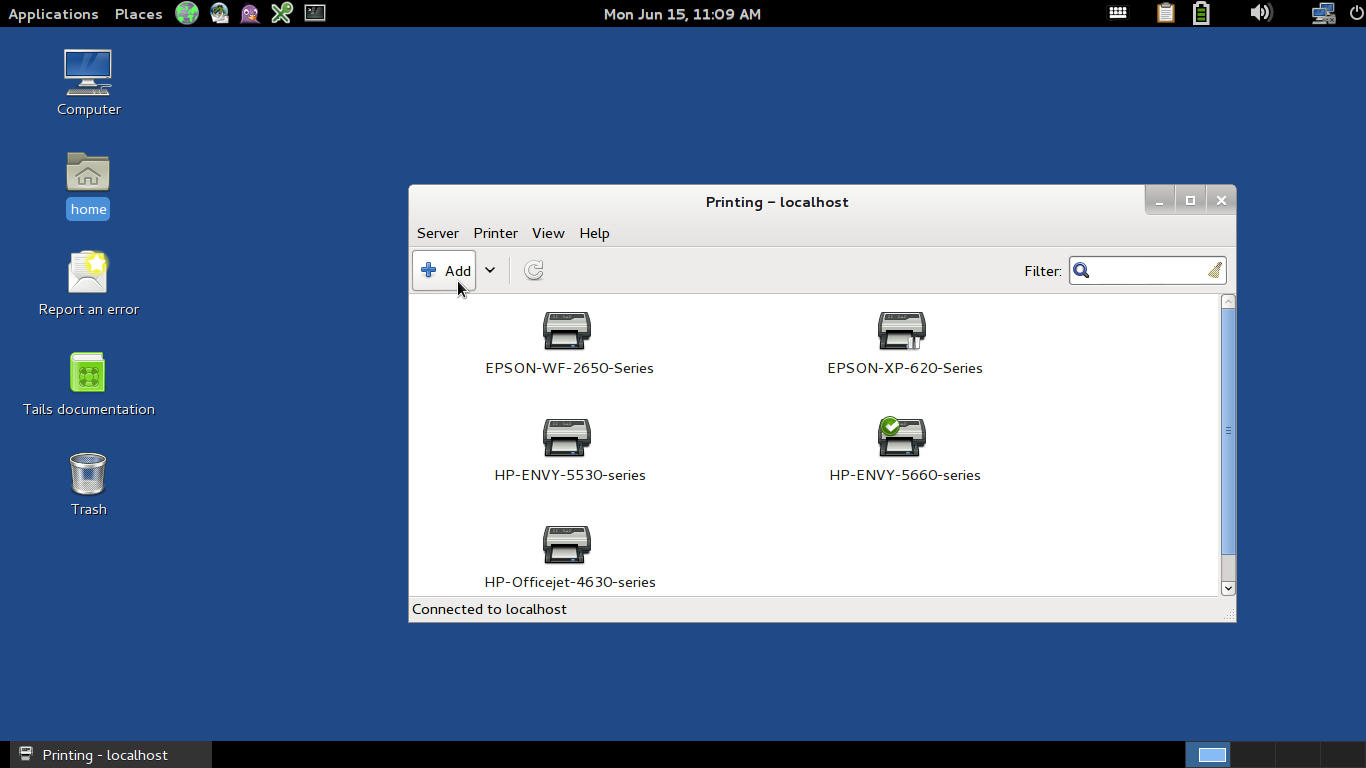
Immediately, Tails will recognize the plugged-in printer, and make the best suggestion from its on-board database of printer drivers.
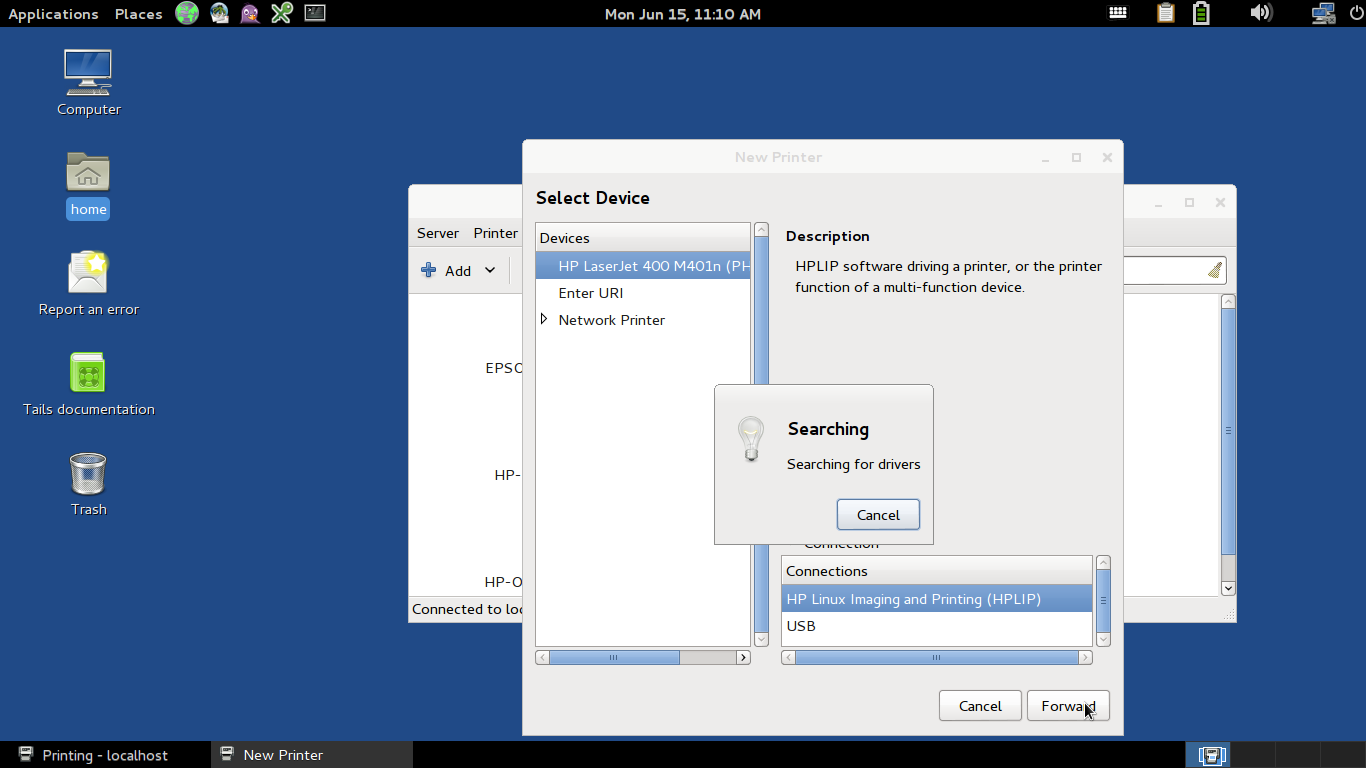
Tails will guide you through a default set-up, suggesting the best match for the printer you have. These choices come from Tails’ pre-installed driver database.
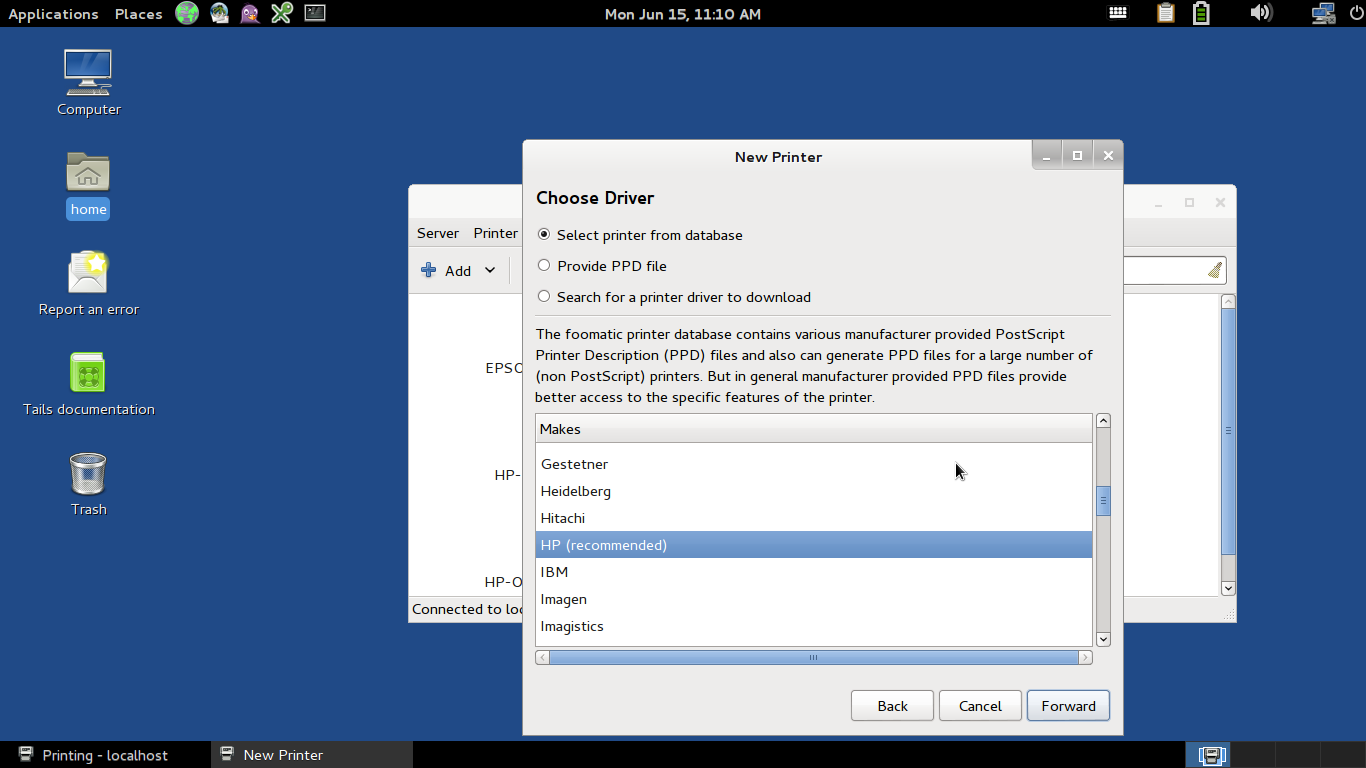
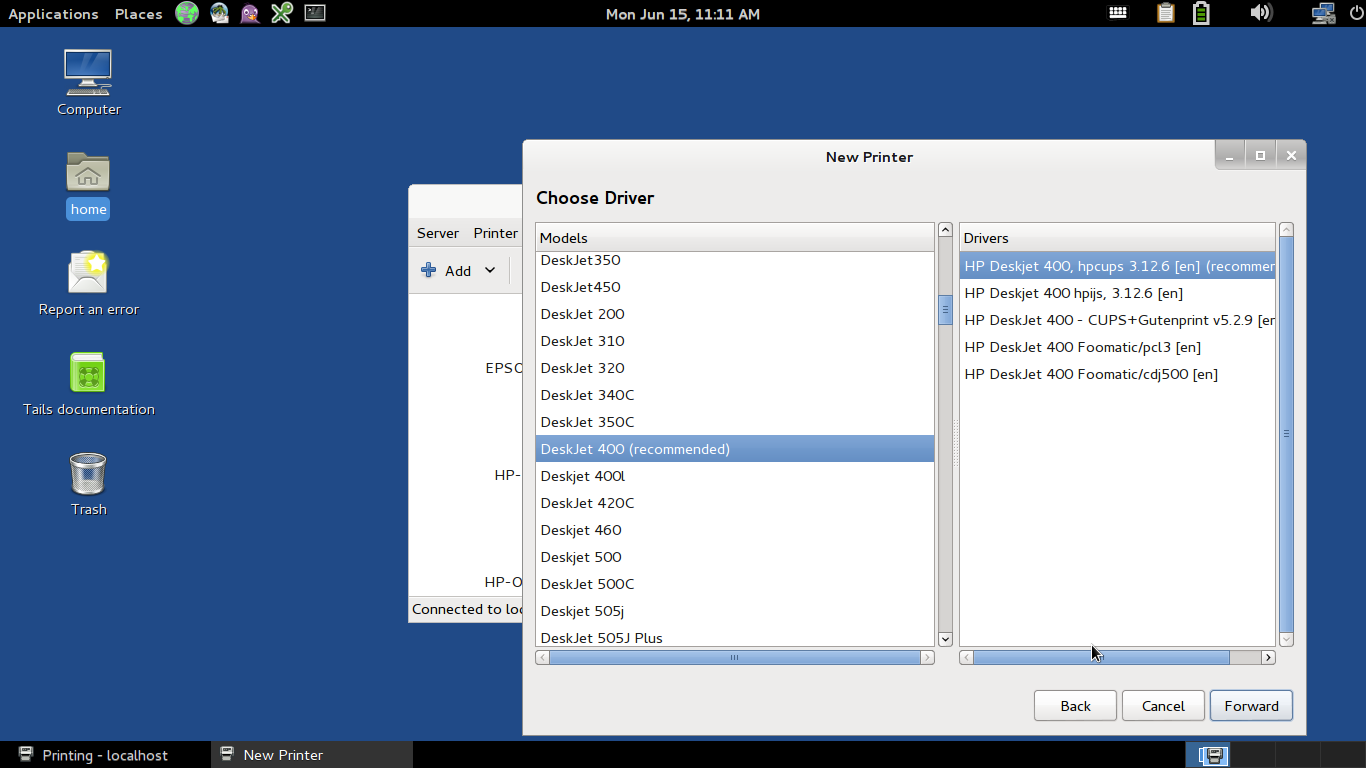
The recommended driver does not always match the actual make and model of your printer, but starting with the recommendations is a good idea. Sometimes you get lucky, and Tails suggests a perfect match. Click Forward, and Apply your settings.
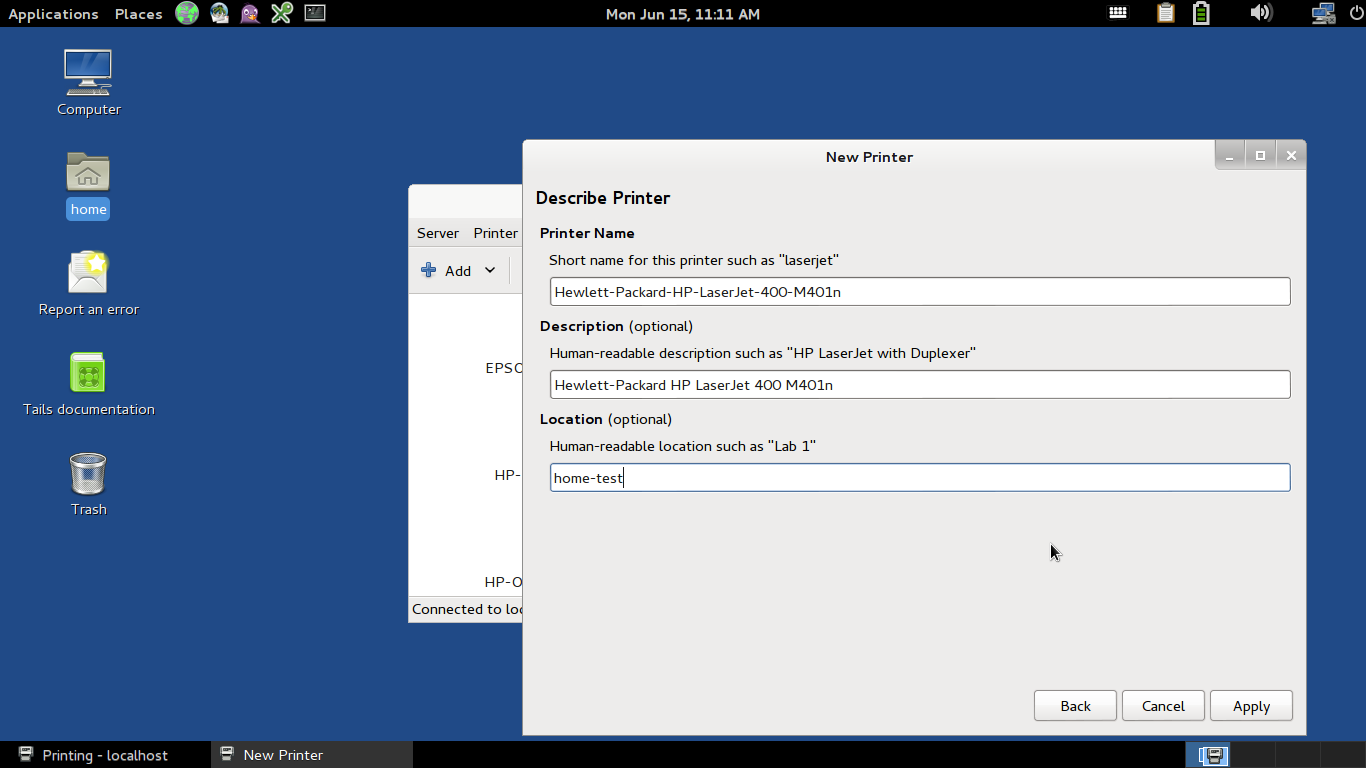
You’ll notice that the printer is now listed in your Printing Configurations in your persistent storage.
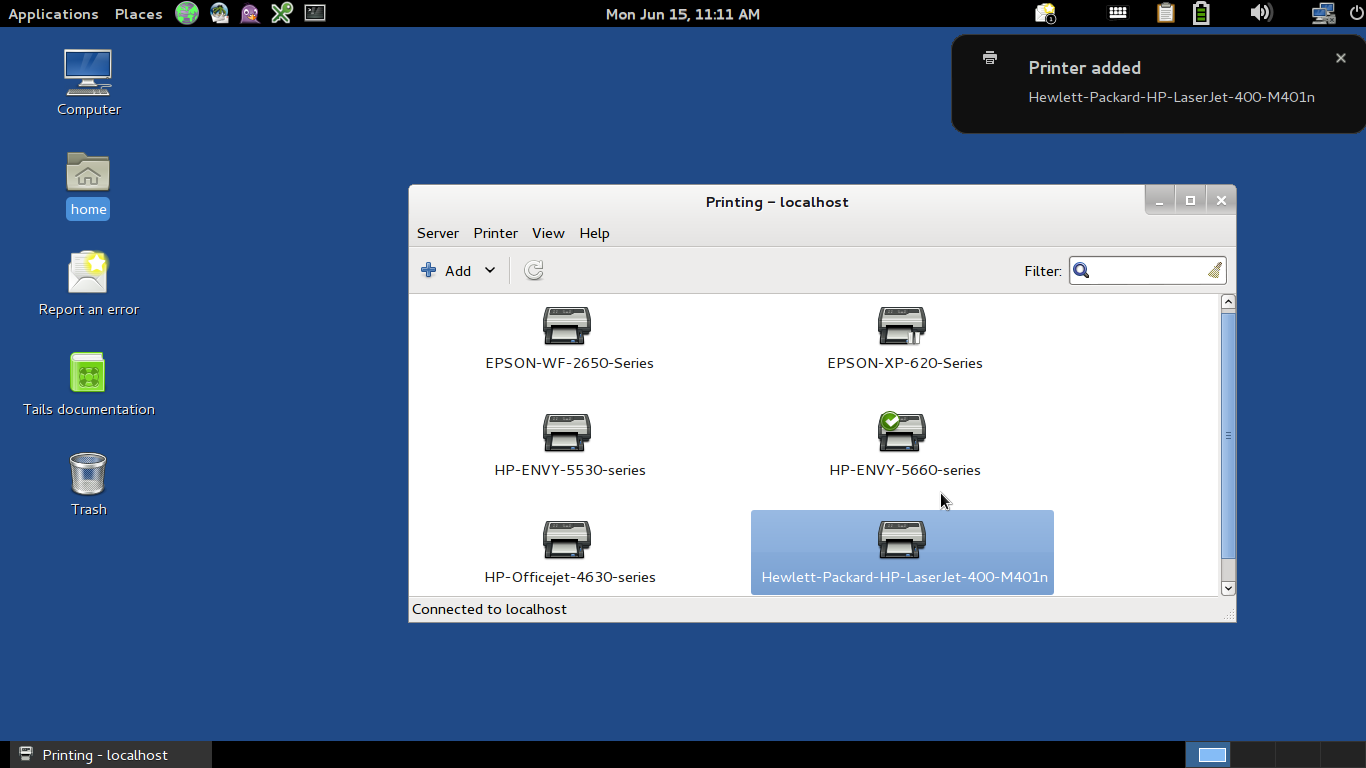
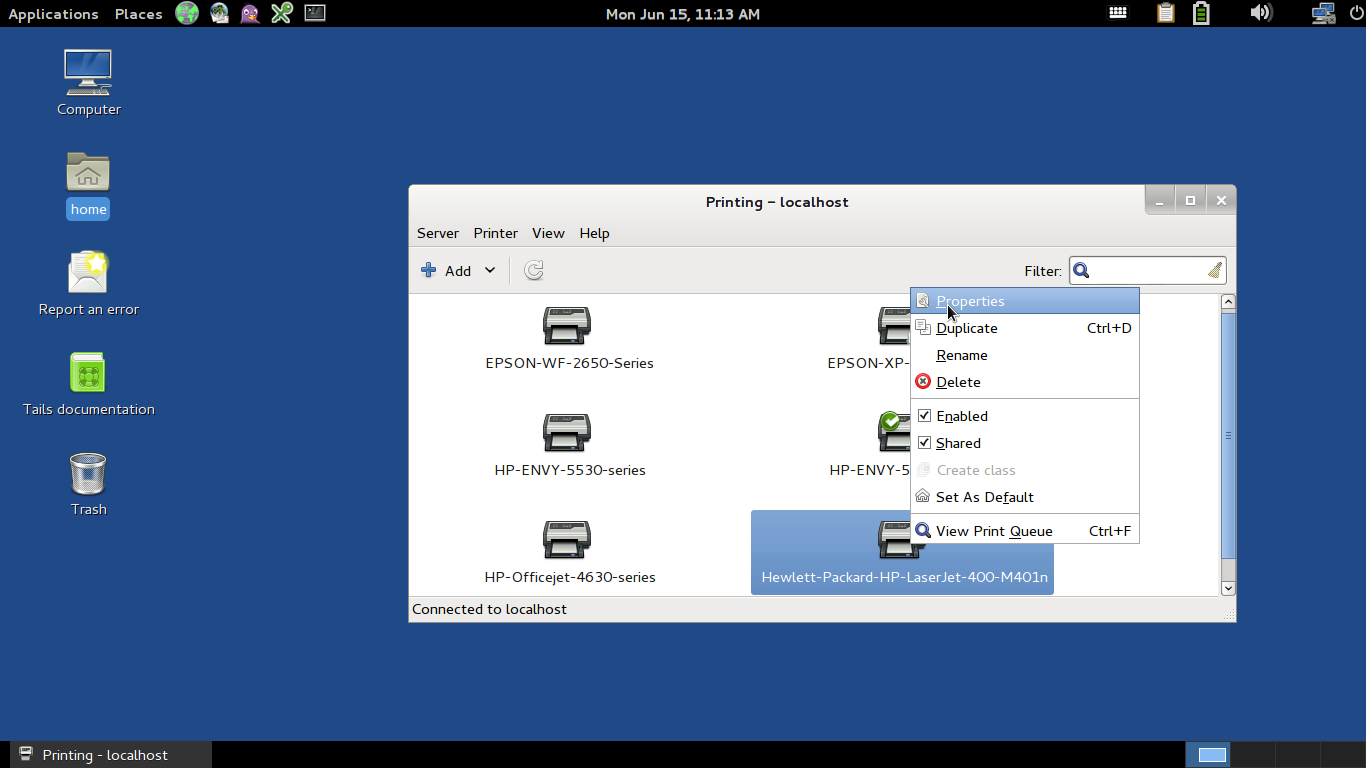
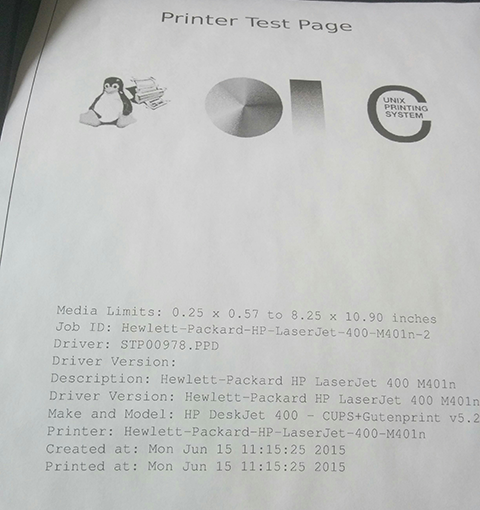
The only way to be sure you have the right driver is by doing a test print. Right-click on your new printer config and select Properties to open its settings, then click Print Test Page.

In this initial test, the recommended driver was wrong! My test page came out garbled, and my printer gave me a warning that I had to manually clear before the page printed.
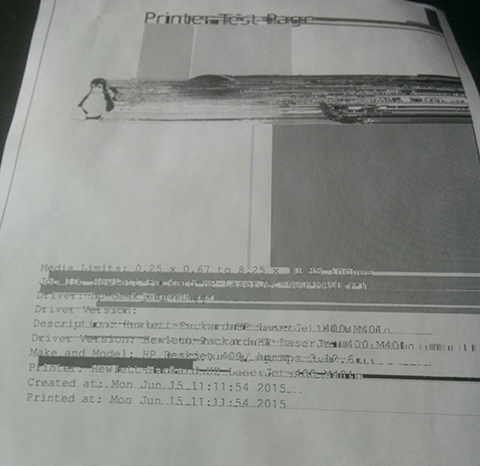

Don’t worry if this happens to you; you can edit the printer configuration to point it to the correct driver for your model. Select Properties again and choose Change… next to the “Make and Model” directive.
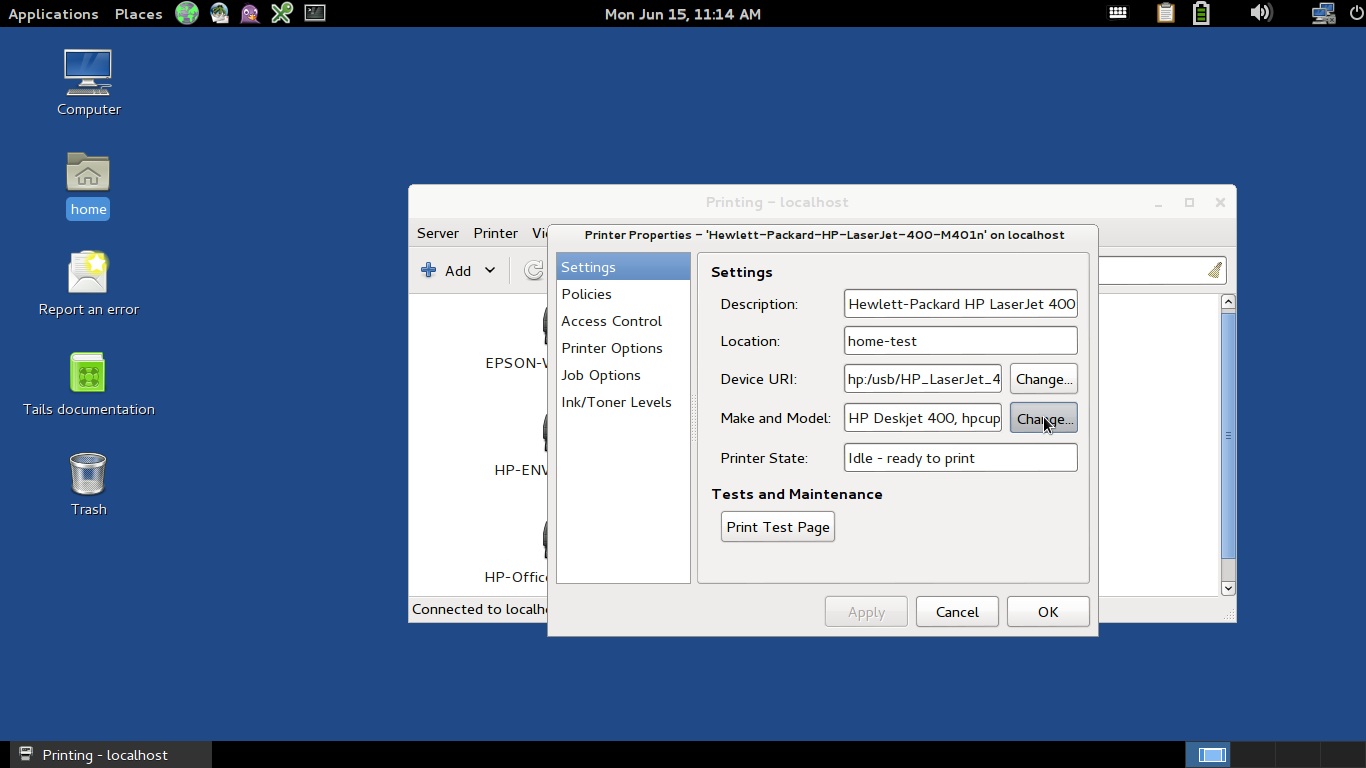
To fix this problem, I selected the CUPS + Gutenprint driver, even though it wasn’t recommended. Click Forward to save your changes.

Do another test print, checking your printer for indicators that it’s working or not. This time, printing works perfectly. If you still experience garbled text, try another driver from your selections. It is a process of trial-and-error.
Printing from the Command Line
You can also easily print from the command line using the lp command; if
you haven’t already set your installed printer as default in the GUI, you can
quickly do so by adding this line to your ~/.bashrc file, or entering this
directly into the terminal:
export PRINTER=Printer-Name-Here
If you need to find the name of the printer, you can use lpstat to get a
list of installed printers, as such:
lpstat -a
Once you’ve set your default printer, you can easily print from the terminal by using the following syntax:
lp filename.extension
While printing from the GUI is much easier, once you’ve got everything set up, it’s equally straightforward from the command line, if you prefer that environment.